Kitchen Makeover Ideas on a Small Budget
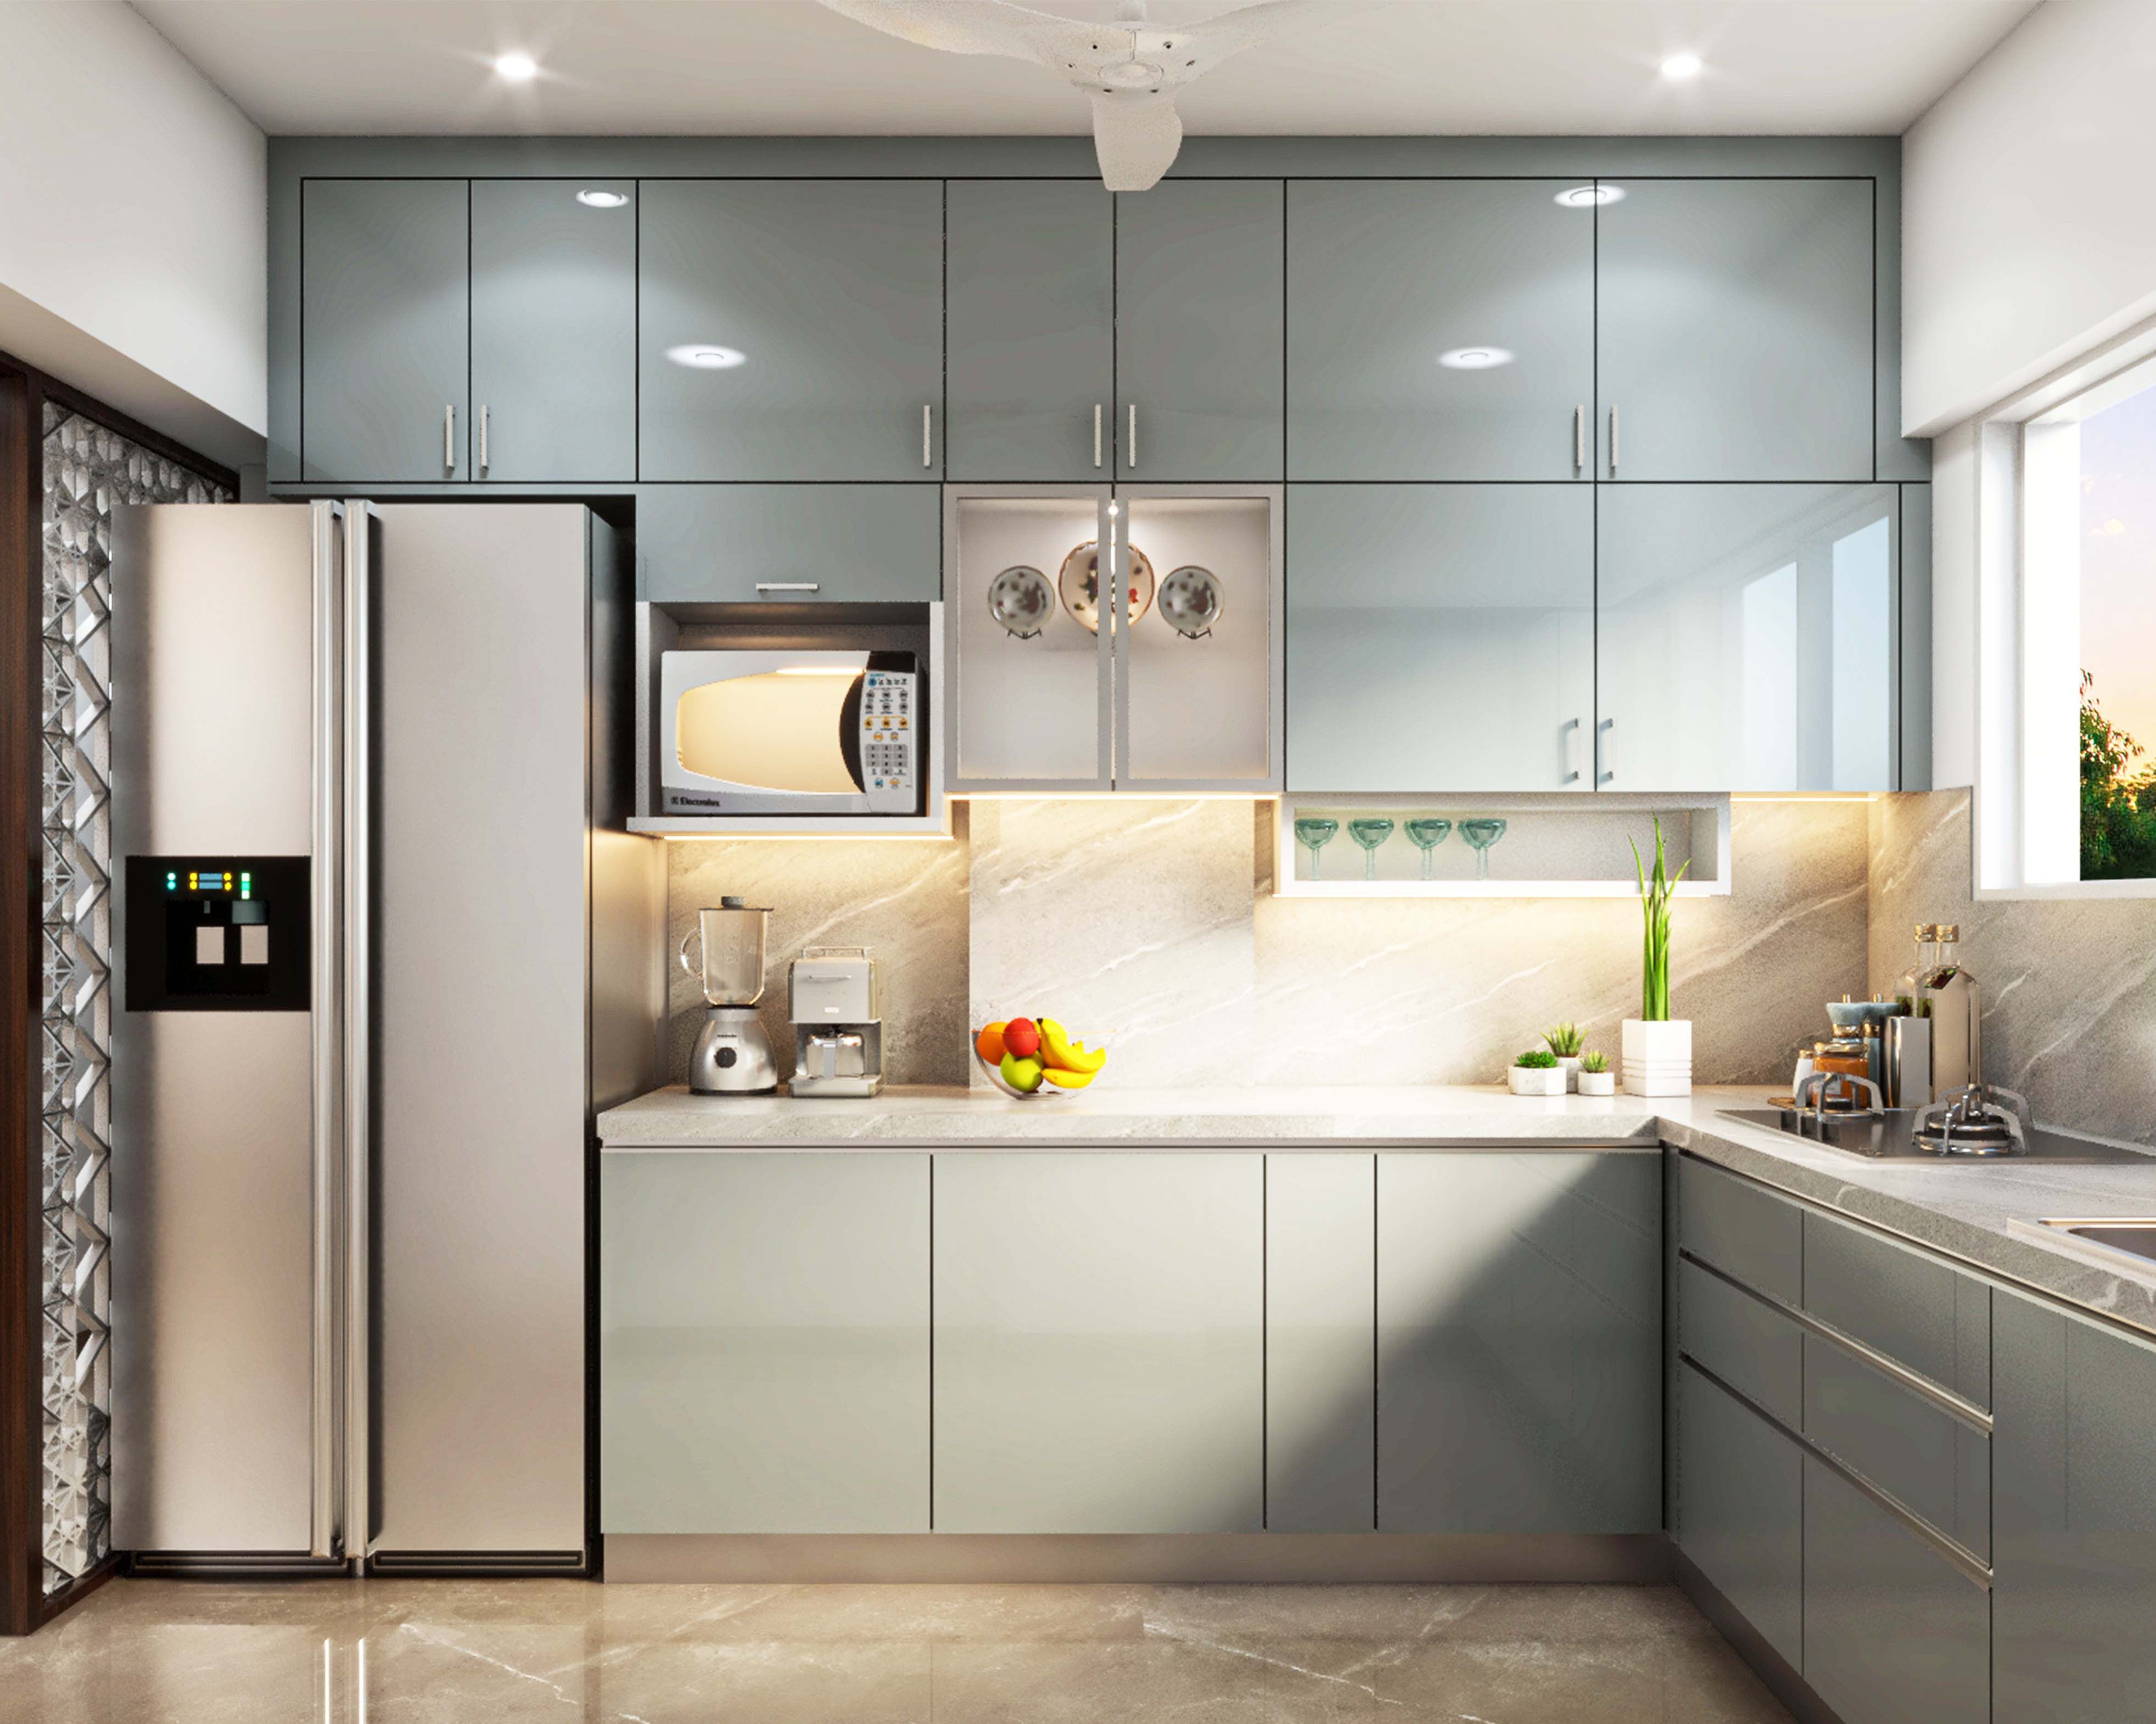
You can refresh your whole space with simple kitchen makeover ideas on a small budget without tearing out walls or spending a fortune. Small changes like painting cabinet faces, swapping handles, and adding stick-on tiles make a dramatic difference. You can complete most of these simple updates over a single weekend with basic tools.
Paint your existing cabinet doors
Painting your cabinets gives you the biggest visual change for the lowest cost. Wash down the doors with warm water and sugar soap to remove all grease. Let them dry completely, then take the doors off the frames and unscrew the hinges. Sand the surfaces lightly with fine 120-grit sandpaper so the paint sticks smoothly. Apply one coat of bonding primer, wait two hours, and then roll on two thin coats of satin furniture paint.
Soft neutral shades make a small kitchen feel airy and clean. Warm cream, gentle mushroom, soft beige, and pale sage green all work well with standard worktops. Use a small foam roller on the flat panels to avoid brush strokes, and leave doors to cure for twenty-four hours before you hang them back up.

How to update a kitchen on a tight budget?
The best way to update on a tight budget is to focus on eye-level details that catch light. You do not need to replace big surfaces when a few affordable swaps can change the style completely. Work through these simple tasks in an afternoon to refresh the room without heavy building work:
- Swap out old handles: Replace dated silver or plastic pulls with matte black or brushed brass bar handles.
- Cover worn surfaces: Apply heavy-duty self-adhesive vinyl wrap over chipped laminate worktops.
- Install under-cabinet lighting: Stick battery-powered warm white puck lights underneath wall units to brighten dark counters.
- Change the tap: Swap a leaking old mixer for a swan-neck tap in brushed nickel or matte black.
Always measure the distance between screw holes on your existing handles before buying replacements. Standard sizes are usually 96 millimeters or 128 millimeters. Choosing the same size means you will not need to drill new holes or fill old gaps.
Add a peel and stick tile backsplash
A fresh backsplash protects your walls and creates a focal point behind your stove or sink. Peel-and-stick vinyl or composite tiles look like real ceramic subway tiles, but they cost far less and need no messy mortar. Wipe the wall clean with rubbing alcohol, mark a level line with pencil and a spirit level, and trim sheets to size with a utility knife.
Take your time on corners and around plug sockets. Peel back just two inches of the backing paper at first, align the tile sheet with your pencil line, and press down firmly with your hand. Work slowly across the wall from left to right. Most stick-on tile projects take about three hours from start to finish and wipe clean easily with a damp cloth.
Kitchen makeover ideas on a small budget for open walls
If your room feels closed in by bulky top cupboards, remove one or two doors to create open shelving. You can paint the inside of the cupboard a contrasting warm tone, like pale terracotta or soft biscuit, to show off everyday plates and mugs. Good interior design relies on practical storage that looks balanced and tidy.
- Take down clutter from the top surfaces to leave clear visual lines near the ceiling.
- Group clear glass jars of rice, pasta, and rolled oats in neat rows of three.
- Stack plain white dinner plates and small bowls together by size.
- Add a small wooden cutting board upright against the back wall for warm texture.
Keep only items you use daily on open shelves so dust never builds up. Clear storage jars keep food fresh and turn pantry basics into pretty display pieces without costing extra money.
Update your floor with stick-on vinyl planks
Old linoleum or scratched flooring can pull down the look of an otherwise fresh space. Self-adhesive vinyl floor planks or floor tiles fit directly over smooth existing floors. Sweep thoroughly and mop with clear water to ensure there is no dust left behind. Start laying planks along the longest straight wall, pressing each piece down firmly along the seams.
You can cut vinyl floor planks easily by scoring the top layer with a utility knife and snapping the plank cleanly over your knee. Choose a light bleached oak pattern or a soft stone-grey look to reflect window light. In just four hours, your floor will look modern, feel warm under bare feet, and resist everyday kitchen spills.


Comments
Post a Comment